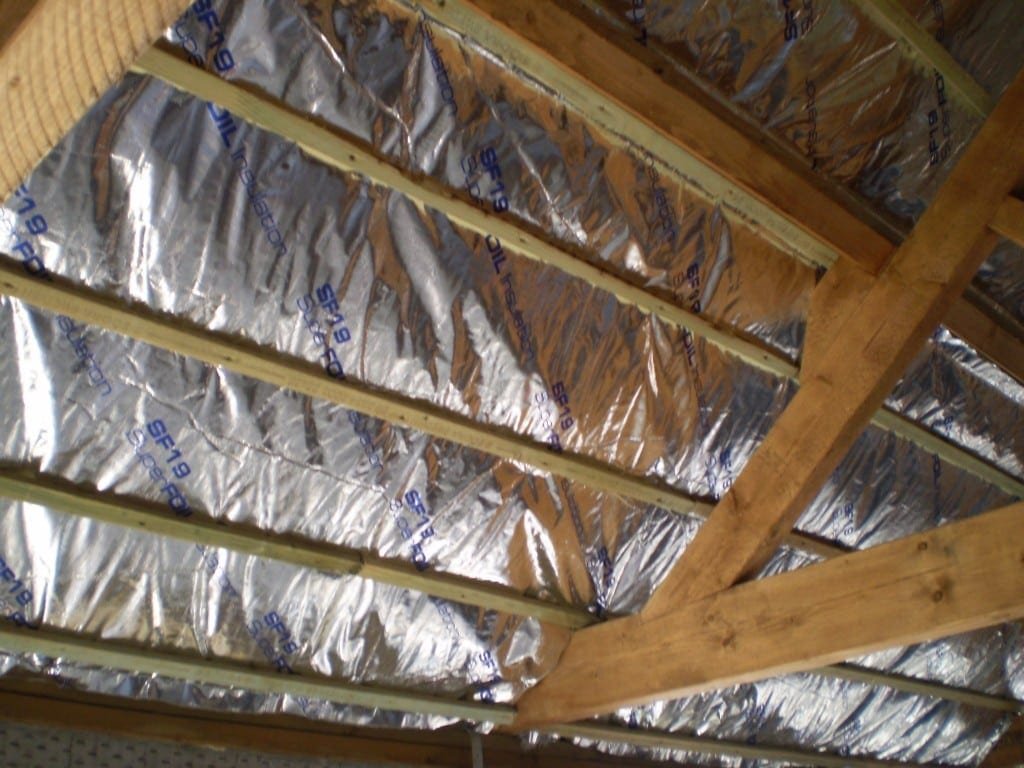
Reflective insulation, often referred to as radiant barrier insulation, is used to reflect heat away from your home, making it particularly effective in hot climates to reduce heat gain. Here are steps to install reflective insulation in your roof:
Materials and Tools You’ll Need:
- Reflective insulation material (rolls or sheets)
- Measuring tape
- Utility knife or scissors
- Staple gun and staples
- Duct tape or foil tape
- Work gloves
- Safety goggles and a dust mask
- Ladder (if needed)
Steps:
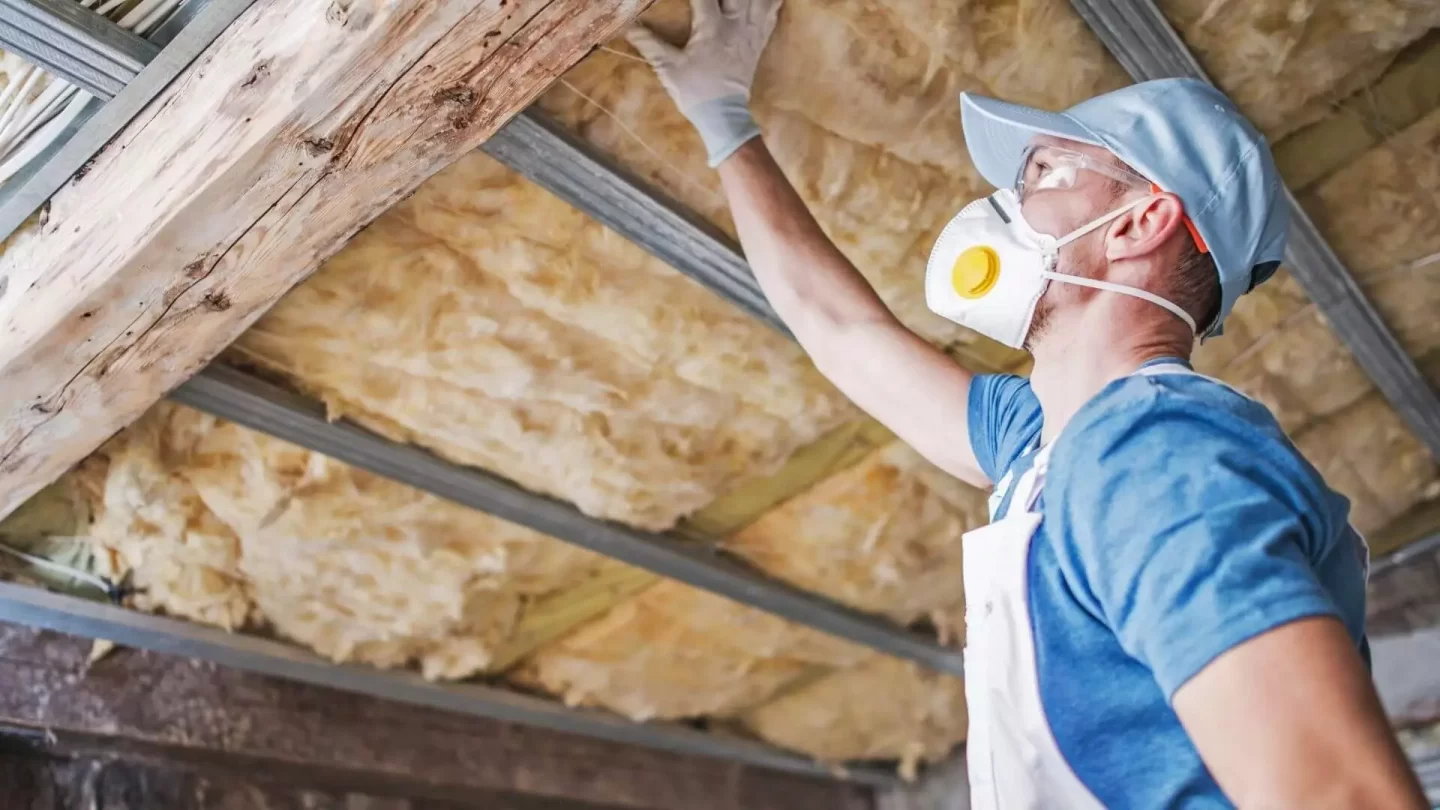
- Safety Precautions:
- Prioritize safety by wearing safety goggles, a dust mask, and work gloves to protect yourself during installation.
- Measure and Prepare:
- Measure the spaces between the roof joists or trusses to determine the width of the reflective insulation material needed. Ensure it will fit snugly without gaps.
- Access the Attic:
- Gain access to your attic through an access panel or hatch. Use a ladder if necessary. Be cautious while moving around in the attic, as it may have limited headroom and may not be designed for regular access.
- Unroll the Reflective Insulation:
- Unroll or unfold the reflective insulation material along the attic floor or between the roof joists/trusses. It should cover the area you want to insulate.
- Trim to Fit:
- Use a utility knife or scissors to trim the insulation material to fit precisely within the joist or truss spacing. Make sure it fits snugly and does not compress.
- Secure the Insulation:
- Use a staple gun to attach the reflective insulation to the roof joists or trusses. Place staples every 8 to 12 inches along the edges and seams to hold the material in place. Avoid overstretching the material.
- Seal Seams and Edges:
- Seal any seams, joints, or edges with duct tape or foil tape to create an airtight seal. This helps ensure that the insulation functions as a radiant barrier by reflecting heat.
- Maintain Proper Ventilation:
- Ensure that vents from the eaves to the roof ridge remain unobstructed by insulation. Proper attic ventilation is still crucial for preventing moisture buildup and preserving the roof’s integrity.
- Safety Check:
- Ensure that insulation does not block vents, exhaust fans, or chimneys. Maintain safe distances from any heat-producing fixtures, such as recessed lights or flues, to prevent fire hazards.
- Clean-Up:
- Dispose of any leftover insulation material and packaging appropriately. Close up any access points to the attic.
- Record Your Work:
- Keep records of the type of insulation installed, the date of installation, and any specific details about the installation for future reference.
Reflective insulation works by reflecting radiant heat, so it’s most effective in hot climates, especially when the insulation is installed with an air gap facing the radiant heat source (typically the underside of the roof deck). If you’re unsure about the best insulation material or installation method for your specific situation, consider consulting with a professional insulation contractor or energy auditor for personalized advice. Additionally, be aware of local building codes and regulations related to insulation installations.
 Day 13
 Day 11